28-Days-to-Lean Meal Plan
With the right plan and the right discipline, you can get seriously shredded in just 28 days.
Read article
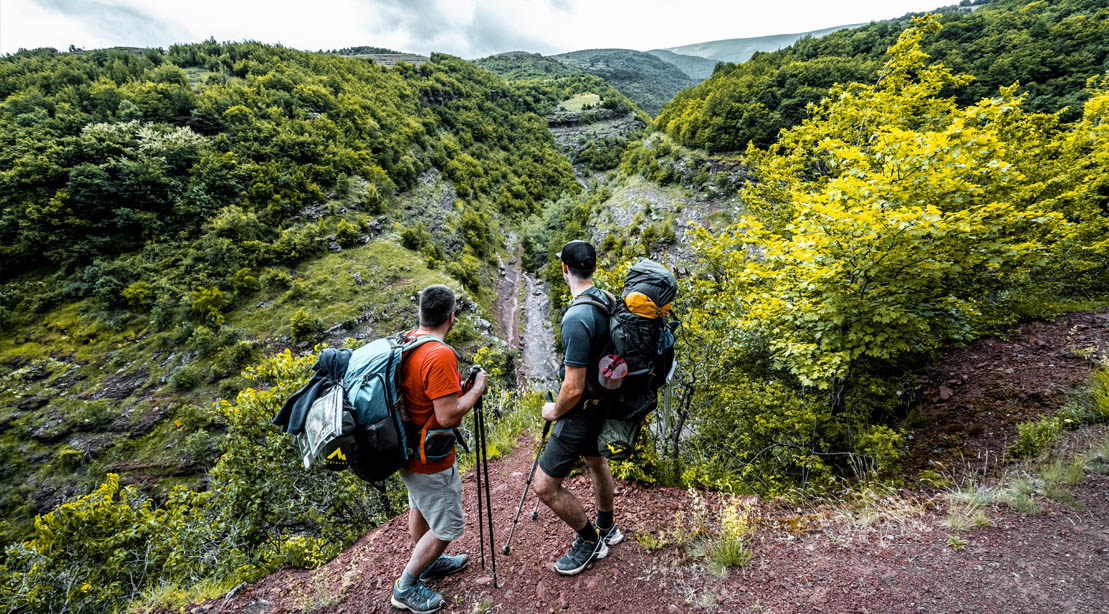
Hiking is a fantastic way to get (or stay) in shape and challenge your physical limits all while enjoying nature.
While hiking uphill tests your cardiovascular endurance, stamina, and strength, trekking downhill, although you get somewhat of a ‘break’), requires a different set of physically demanding skills.
Depending on how long your descent is, trailing downward can become exhausting placing strain on your knees and challenging your balance.
However, with these simple tips from Eric Nieusma, a certified personal trainer with over ten years of experience in the exercise and rehab setting, fitness product developer, and avid hiker, you’ll be taking on downhill hiking with excitement and ease!
Just as there are physical and mental benefits of hiking uphill (especially when you reach the summit), there are plentiful benefits for trekking downhill – benefits that your body (and balance) will thank you for. Here, Nieusma shares benefits that will have you looking for a mountain ASAP.
It’s easier than uphill and can be a good time to recover and take in fresh air.

Descending downward can take its toll if your body isn’t prepared, and even then, events such as a tumble or fall can happen. Although there are many positive benefits of downhill hiking, there are times when it should be avoided.
“Avoid downhill hiking with questionable foot, ankle, or knee issues and known balance or coordination difficulties,” says Nieusma, as well as stresses that any past injuries should be addressed and fully recovered before downhill training can begin.
When using downhill training for exercise, Nieusma advises you to warm-up properly. It can also be effective to possibly meet with a qualified fitness professional to guide you in both your warm-up and training.
Warms up the lower legs, feet, calves, and tibialis anterior. The exercises is done by rocking back and forth on your heels to toes; this will target all these muscles in one move.
How to: While standing, Raise your heels by doing a calf raise, then go down and raise your toes, while balancing on your heels.
Try to keep your balance and control the movement, until you feel a little “burn”.
Rest for one minute and repeat three to five times.
This move is great for loosening up your entire core while bringing blood into those areas and trains balance.
How to: Stand on one foot, rotate and twist your torso back and forth, until you feel a little “burn,” switch feet, and repeat 3 times, with each foot.
Getting your blood pumping via light cardio is a great way to get your entire system warmed up. This can look like jumping rope, jumping jacks, or a brisk walk or light jog.
Duration: Active warmups should run for about five to ten minutes or until you break a sweat.
Stretching is an important part of your warm up and it can help prevent unnecessary injuries such as a strain or tear.
Knee Extensions: During downhill trekking, Nieusma explains the Quads and vastus medialis are the target muscles making knee extensions a good target exercise to strengthen that area.
Squats: Moves like the squat and lunge are also good movements to strengthen the quad area while helping you build better balance which is needed for downhill training.
Training tip: To up the intensity you can try one-legged squats.
Core Moves: “All core and spinal erectors can be trained,” explains Nieusma and he encourages you to pick exercises that train these muscles when you’re standing – one example of this would be pulling a cable or band using core rotation while standing.
Training Tip: To “up” the intensity, Nieusma recommends standing on one foot, which will increase the difficulty.

Body mechanics, technique, form, and gear will make or break your downhill hikes. Mastering these tips will not only help your descension go a lot smoother but may help prevent injuries such as a fall.
“Downhill hiking is your reward for making it to the top – enjoy it while you can,” says Nieusma. With proper warm-ups, form, and body mechanics, downhill training just might become one of your favorite ways to strengthen your body and increase overall conditioning.